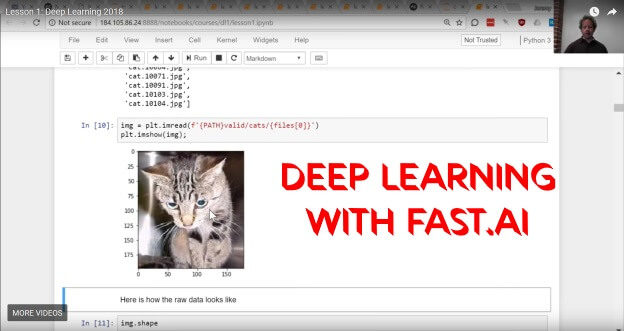
When getting started exploring machine learning, you will likely come across the free lessons at Fast.ai. These lessons require a few gigabytes worth of programs and algorithms as well as access to a powerful GPU from Nvidia (e.g. GTX 1060). The first lesson even walks you through setting up a cloud server for just that purpose, but what if your PC already has a powerful Nividia graphics card? What if you use Windows?
No problem. This quick guide walks you through the process of setting up a local environment for machine learning, starting with the Fast.ai tutorial series. It’s designed for Windows PCs with an Nvidia graphics card. Alright, let’s get started with a few quick downloads.
Download the following programs and install them:
- CUDA (Nvidia): The workhorse code that makes machine learning on an Nvidia GPU work
- Anaconda (Mini): This is the environment that gives you a Linux style command line and handles package management.
- GitHub Desktop (optional, recommended): You can download the repository without it, but it’s much easier to update later if you install and then use the clone feature.
Installation Notes
- CUDA: Expand the CUDA install section and uncheck the Visual Studio plugin option unless you actually have Visual Studio installed.
- Github Desktop: Once installed, under File > Clone Repository enter in the fastai repo address:
https://github.com/fastai/fastai.git. Make sure you set the local path to something easy, such as a Github folder on your C: drive.
Getting the Environment Ready
Side note: Some of these tips were taken from this helpful forum post.
There are only a few more steps till you are ready to go. First, you need to run Anaconda from your Start Menu. Using this command prompt, navigate to your Guthub directory where fastai was cloned. For instance, mine is on my secondary hard drive so it is D:\Github\fastai. Use the command cd xxxx to change directory.
Once there, run the command
conda env update
This will take a while as it downloads about 2GB worth of programs, algorithms, and more necessary for the lessons. Once complete however, enter
activate fastai
then enter
jupyter nbextension enable --py widgetsnbextension --sys-prefix
Finally, deactivate fastai.
Head back into the Start Menu and this time, right-click on Anaconda Prompt and choose More > Run as Administrator. Navigate again to the fastai directory and this time run the following commands:
cd courses\dl1

del fastai

mklink /d fastai ..\..\fastai

cd ..\..
You can now close the administrator level window because you’re all set!
Now when you want to run the lesson you open Anaconda, navigate to your fastai directory,
activate fastai
then follow the lesson as needed, most likely typing jupyter notebook.
One quick note: In lesson 1 (and other lessons) you need to download data sets. The cats and dogs data set, as specified in lesson 1’s notebook. Since you’re on Windows, instead of using wget (which isn’t available), just download the file in your browser then, inside courses\dl1 create a data folder and extract the data set’s zip file into that folder (in the case of lesson 1 that extracts a folder called dogscats.
Final final note
If you ever update the Github repo, you will need to repeat the above Administrator level Anaconda section (del, mklink, etc).

thanks
Thank you Mario! This article was very helpful. Please note that there is now one more step mentioned in the forum between Nov 3 – Nov 11, 2018. The fix is to add the dependency “- conda-forge::fiona>=1.7.13” in line 39 of fastai\environment.yml