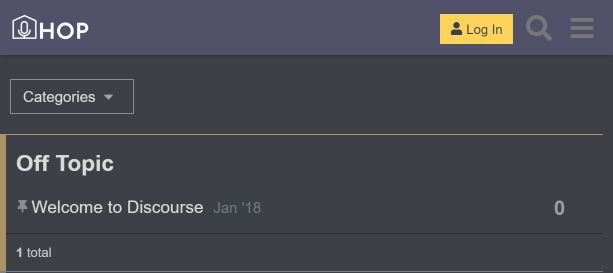
This is more notes and reference than an in-depth tutorial, but after spending a few hours trying different things, here’s how to get it all set up. Remember, just as Discourse recommends, a t2.micro instance only has 1GB of memory, so if you intend to grow things to an Internet-wide audience, you should use a t2.small instance instead.
First and foremost, you can use the free image provided by Intuz to launch the instance. Part of that page is also the instructions once you’ve completed setup in EC2 (I’ll copy those a little lower).
EC2
While the service guides you through your choices, after creating a new server, security group, and Virtual Private Cloud (VPC) I ran into issues because I didn’t have a public IP or DNS listed with the server. Turns out that has to be enabled.
- Under VPC, Edit DNS hostnames and check Enable.
- Under VPC > Internet Gateways, create a new one then Attach it to your VPC
- Finally, go under VPC > Routing Tables, and Edit Routes. Click the Add route button, entering 0.0.0.0/0 and then selecting Internet Gateway from the dropdown and selecting the one you just edited, finally saving.
One quick note. Make sure that you edit your EC2 Security Group to Edit inbound rules and include HTTPS (port 443).
You should now be able to stop/start your server and get a public IP address.
SSH
Next up are the provided instructions by Intuz:
– ssh into the instances (using the username ubuntu)
– Type cd /var/discourse/
– Now, type sudo ./launcher rebuild app
You’ll need to do sudo ./launcher rebuild app twice, once to update the files and once to build everything the first time. Sadly, you’ll likely run it 1 more time after the next steps.
Editing /var/discourse/containers/app.yml
After the 2nd rebuild you will be able to access the Discourse server by the public IP, but while you will be able to log in using admin and the password your-instance-id-from-aws, it requires email verification and email is not set up!
You can use all sorts of services, but this tutorial will reference SparkPost documentation to help you out which is applicable to SendGrid, MailGun, etc. Type sudo nano containers/app.yml to access the editor for the config file. In here, you will be uncommenting/changing the DISCOURSE_HOSTNAME to a valid DNS, possibly a domain you own, DISCOURSE_USE_HOSTNAME (uncomment), DISCOURSE _DEVELOPER_EMAILS, and all the DISCOURSE_SMTP_* fields. Please note that the password should not be in quotation marks.
Here are your links for reference on making the changes:
Using SparkPost with Discourse
Troubleshooting email on a new Discourse install
Discourse and MailGun
While you’re in here, you should probably setup Let’s Encrypt (SSL) as well and luckily, that’s just a matter of uncommenting lines as described in this tutorial. It’s important to note that you don’t need to pregister the email address with Let’s Encrypt, just supply a valid one and Discourse does the rest.
Use CTRL+X to exit, choosing to save your work. Make sure you didn’t forget the note at the end of the SparkPost tutorial about the exec: rails r… line!
Wrapping Up with a Rebuild
Time for another rebuild with the new settings!
sudo ./launcher rebuild app
Once completed, you should now be able to get that verification email and complete setup through the web server directly. The final step if everything went well, including the SSL certificate, is to enable site-wide SSL in Admin > Settings > Security > force https.
You’re all set!

What kind of AWS billing are you seeing with say 1,000 posts a day? 2,000?