 First and foremost, OctoPi is a fantastic pre-built image for a Raspberry Pi (Model A, B, or B+) that is designed to connect to your 3d printer and provide a web interface to interacting with your printer, all using the simple and powerful OctoPrint software. In my case, I’m connecting it to my Printrbot Simple Metal.
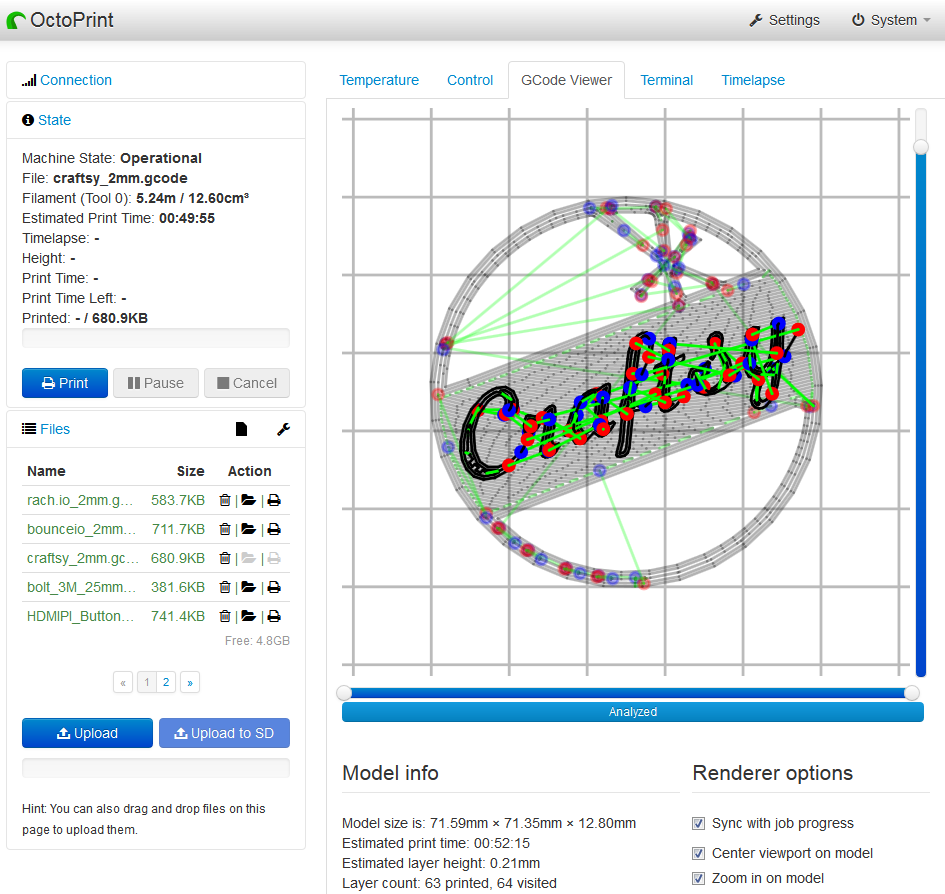
OctoPrint is incredibly powerful: you can connect a Raspberry Pi camera, print out a camera mount to attach it to your bed and actually watch your printer through the OctoPrint webpage (or record video, if that’s your thing). You could even do it in complete darkness (with IR LEDs). I have my printer in the same room, but it’s good to dream.
Getting Started
OctoPi requires at least a 4GB SD card (microSD for Raspberry Pi B+). You download the image file and write it to your SD card. You can now do your first boot of the Raspberry Pi (keyboard required during this phase, but it can be input-less once done).
The best getting started guide is a video by Thomas Sanladerer (embedded below). I’ve queued the video up to the first-boot section where he explains expanding to fill your full SD card and network configuration options.
The thing about OctoPi is it is maintained by a gentleman in the UK, and when using a mini keyboard for the US, typing certain characters can be… frustrating or impossible. So, there are two additional adjustments I recommend once you’ve booted up your new OctoPi. Reminder: Default login is username pi and password raspberry.
NOTE: You can accomplish the below keyboard adjustments from the initial setup menu using Option 3: Localization. The below commands are only necessary to launch these localisation scripts if you have exited the initial configuration mentioned in the video above.
Change the Keyboard to US Standard
From the command line, run:
sudo dpkg-reconfigure locales
You want to use the menus to adjust the locale to en_US.UTF-8.
Then run:
sudo dpkg-reconfigure keyboard-configuration
This is a huge list, but find the Generic 101-key PC and select it.
Setup Auto-Login
Once those are changed it’s time to auto-login your Raspberry Pi. The below instructions assume the default user ‘pi’. These instructions are from OpenTechGuides.
Type:
sudo nano /etc/inittab
Navigate to the following line in inittab
1:2345:respawn:/sbin/getty 115200 tty1
And add a # at the beginning of the line to comment it out
#1:2345:respawn:/sbin/getty 115200 tty1
Add the following line just below the line you just edited:
1:2345:respawn:/bin/login -f pi tty1 </dev/tty1 >/dev/tty1 2>&1
Press Ctrl+X to exit nano editor, Y to save the file, and Enter to confirm the filename.
Wrapping Up
Congratulations, you’re all set to plug your 3d printer into your Raspberry Pi! Just plug it in, restart the Pi (sudo reboot), unplug your keyboard, and head over to your main computer.
Note: Before disconnecting the keyboard, you may want to check the IP address of your OctoPi. Use the command ifconfig to display it.
If you’re on Windows like I am, you need to install the Bonjour service if you want to use http://octopi.local as the address. If you don’t care, you can just go directly to the IP address of your OctoPi. One last note for PrintrBot Simple Metal folks: Make sure that when connecting, you use the serial port labeled /dev/ttyACM0, otherwise it will not fully connect.
That’s it! You can now not only use your printer remotely, but you can use SSH to connect to the Pi directly if you want to shut it down when it won’t be in use for a while.
you can run raspi-config to do all this a lot faster in OctoPi
man thanks a lot i was pulling my hair out trying to get it to autologin. this helped me out immensely thank you.